After the holiday season passes, aside from some frigid weather and the occasional chance of snow, it may feel like January doesn’t have much to offer, but the dead of winter can be an active time for gardeners. In fact, throughout January, I find myself eagerly sifting through the mail for proof that we’ve entered into a new season.
If you’re wondering what I’m looking for, it’s not bills. Rather, I’m looking for evidence that one of my favorite times of year has arrived – seed catalog season! With catalogs pouring in this month and in honor of National Seed Swap Day, which is always held on the last Saturday in January, I’d like to share some tips and tricks on starting seeds indoors.
January is an ideal time for gardeners to sit by the fire, peruse their favorite seed catalogues, and dream about what they’d like to grow this year. Some seed companies that I enjoy include Seed Savers Exchange, Baker Creek Heirloom Seeds, Johnny Seeds, Territorial Seeds, Tomato Growers Supply Company, and Southern Exposure Seed Exchange, but there are many more from which you may choose. For best results, select varieties that are adapted to grow in the southeast.
If online shopping isn’t your cup-of-tea, don’t despair. You can find seeds at your local co-op or garden center, trade saved seeds with friends, attend a seed swap event, or visit a local seed library. We’re fortunate that both Fannin and Gilmer Counties have seed libraries, which are made possible through a partnership between our public libraries and our very own Master Gardener Extension Volunteers!
To start your garden “on time” you will need to plan ahead. To do this you will need to sow seed of vegetables that benefit from transplanting, such as tomatoes and peppers, indoors so they are at the correct growth stage when it’s time to plant outside. For some plant species, this can be 6 to 8 weeks prior to the recommended transplant time!
Home gardeners have a lot of options and can be creative with what materials they use for sowing their seeds. Ultimately, the main requirement for a seed starting container is adequate drainage. Some sort of bottom tray to catch any excess water that filters through the container is also helpful.
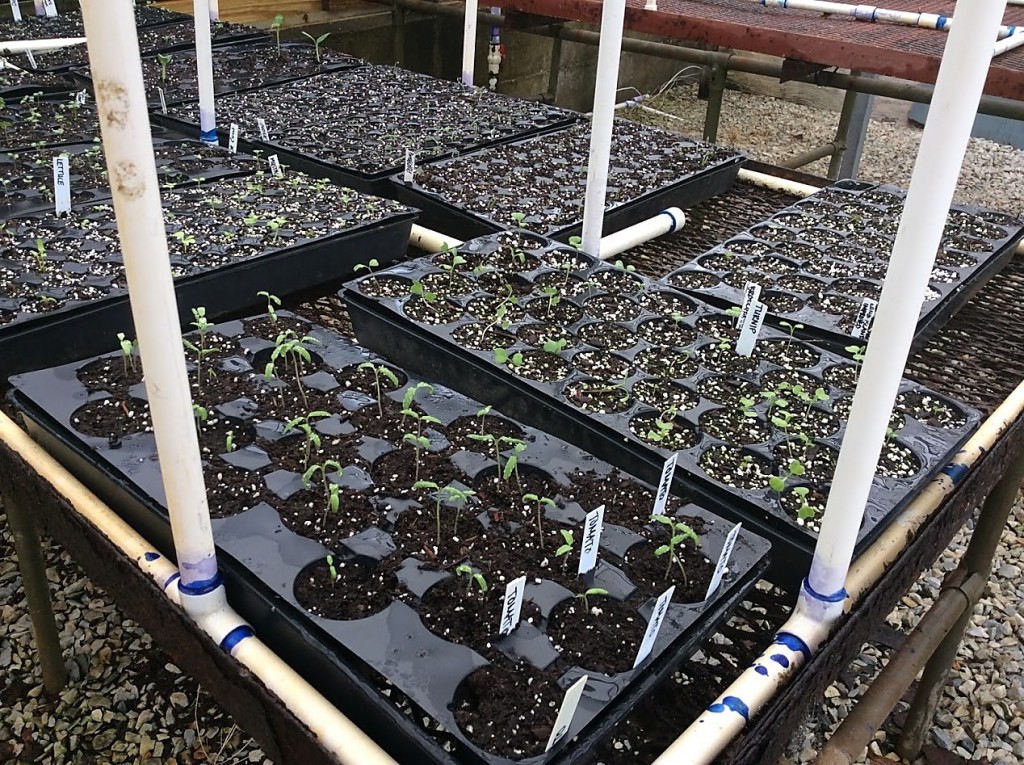
I’ve seen many gardeners recycle plastic or Styrofoam cups, plastic tubs, and frequently plastic cell packs from previously purchased plants. My go-to containers tend to be old plug trays and seed flats. Gardeners also have the option of purchasing seed starting kits that include a tray of cells and a humidity dome.
If you’re reusing containers, then it is important that they be properly sterilized. This step is helpful in reducing the onset of soil-borne pathogens that cause “damping off” in seedlings. To sanitize your containers, wash them to remove any excess soil and debris and then rinse with 1-part chlorine bleach and 10-parts water solution. After sterilizing, allow them to completely dry prior to adding a clean, commercially prepared seed-starting mix.
Seed starting step-by-step:
- Moisten the seed starting mix and fill sanitized containers about ¾ of the way full.
- Level and settle the mix – do not pack the soil too hard!
- Sow seeds and cover seeds to the depth recommended on the seed packed. Some very small seeds, such as mountain mint, require light to germinate and should be left uncovered.
- Label the pots and flats – include the plant species, variety and the date!
- Moisten the substrate surface with a fine mist.
- An optional, but beneficial, step includes covering the container with a plastic film to generate a humid environment for germination.
- Place the tray in a warm place with a temperature of 65–75° F.
- Bottom heat promotes timely, uniform germination. If you have one, then you can use a heated seed-starting mat. Other folks have success placing their containers on top of their refrigerator.
- Once seedlings emerge, remove the plastic film and place in a bright south-facing window or under grow lights.
- Do not overwater! Allow the media to dry between watering but don’t stress the seedlings by causing them to wilt.
- If you sowed too many seeds and need to thin your seedlings, cut the weaker seedlings off at the soil line.
- You may also transplant overcrowded seedlings to individual pots after they have at least one set of true leaves.
Planting outdoors is done after the last spring frost. Since unpredictable spring weather is not uncommon in our area, it may be wise to wait another week before planting, especially if there is a prediction for frost around that time. Another important step that some beginning gardeners do not know about is the need to “harden off” your seedlings prior to transplanting.
If you don’t take the time to “harden off” your seedlings, then they will be unable to withstand the harshness of the outdoor environment and they may wither up and die. To avoid this undesirable outcome, you will need to gradually expose the seedlings to the outdoor environment, which will induce a physiological response that will signal to your plants to toughen up!
To accomplish this task, withhold fertilizer, cut back on water and set your transplants out in dappled sunlight for about five days. Once this phase has passed, you can move them into a sunny location, gradually increasing the length of exposure, for another five days. When your plants are large enough for easy handling and hardening-off is complete, the time has come to plant them into the garden.
To reduce the shock of transplanting, select a cloudy day (if that’s an option) and plant early in the morning. Dig a hole twice as wide as the plant. When you remove the plant from its container, take care to not damage the roots and keep the rootball intact. Set the plant in the hole at the same level it was growing in the container. Some plants, like tomato, can be planted more deeply. Place soil loosely around the roots and water them.
As time goes on, be sure to monitor your plants for any signs of insect or pest pressure, supply them with a consistent amount of water, and fertilize to promote steady growth and you should have a productive garden this summer. If you’re new to vegetable gardening and would like some more information on recommended plant varieties and planting times for Georgia, check out our handy vegetable planting chart from the UGA Extension Circular 963: Vegetable Gardening in Georgia.
Successfully starting seeds requires advanced planning, space, and time.