Most serious gardeners understand that composting is a great way to build good quality soil. From mulching trees and perennials with pine straw or wood chips, grass cycling-not bagging your grass clippings, and structures to heap or pile compost; all are great and all of them are composting. The latter example is where I find people have the most difficulty.
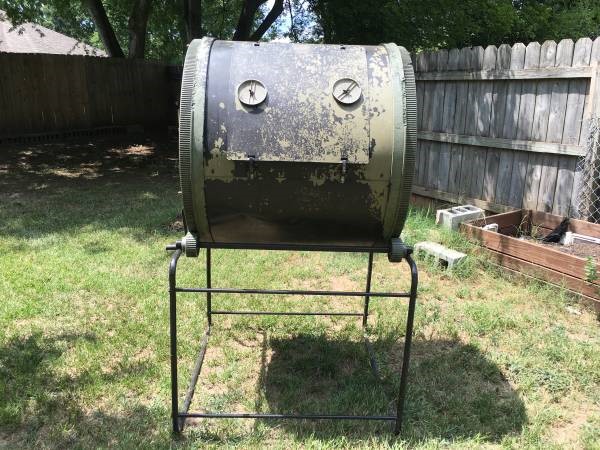
With bin or heap composting there always seems to be something that goes wrong. It could be the material in the bin or tumbler is too wet, too dry, or the mix of brown, carbon based matter is out of whack with the green, nitrogen based material. And then there is the location, people often place the bin or tumbler in the corner of the yard far away from the house, because let’s be honest-they aren’t exactly attractive additions to the landscape, so they will go unused after the newness has worn off. And then functionality also come into play. Effective composting in most bins and tumblers is really batch composting, meaning all the materials are added at one time, allowed to go through the heating process and turned to maintain that high heat composting.
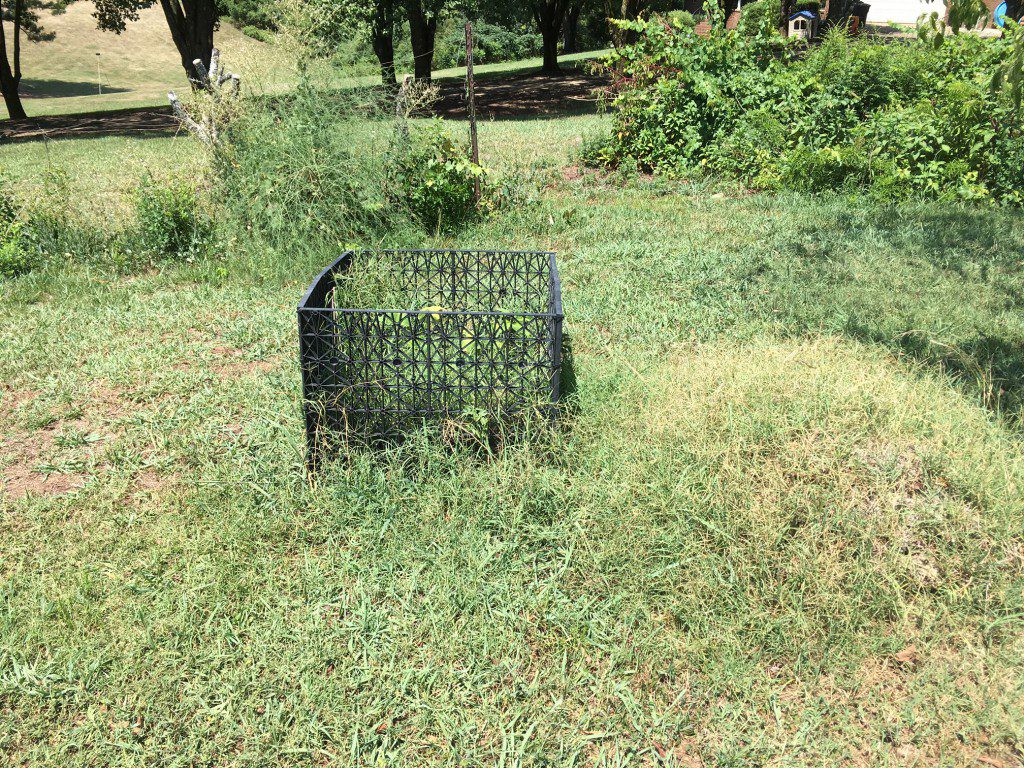
I was a classic example of an unsuccessful composter. My mesh bin was too far away from the house so I didn’t keep it supplied with materials much less turned and aerated. And because it did not get attention, all kinds of seeds grew from it and eventually the Bermudagrass runners swallowed it like a conquering army.
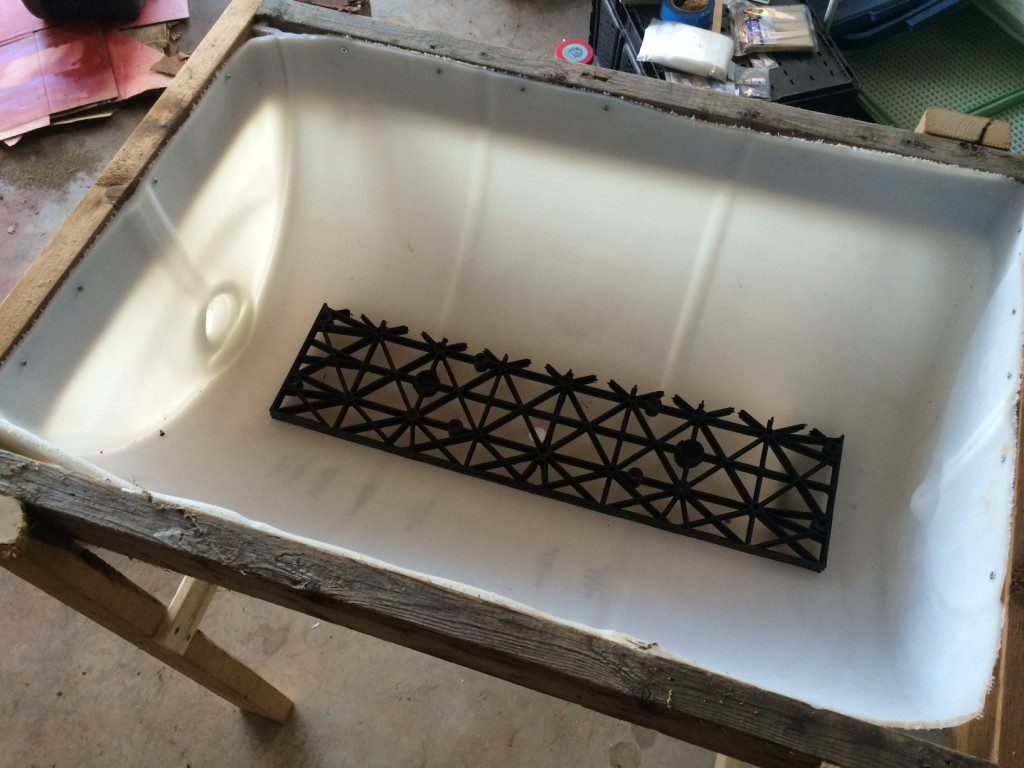
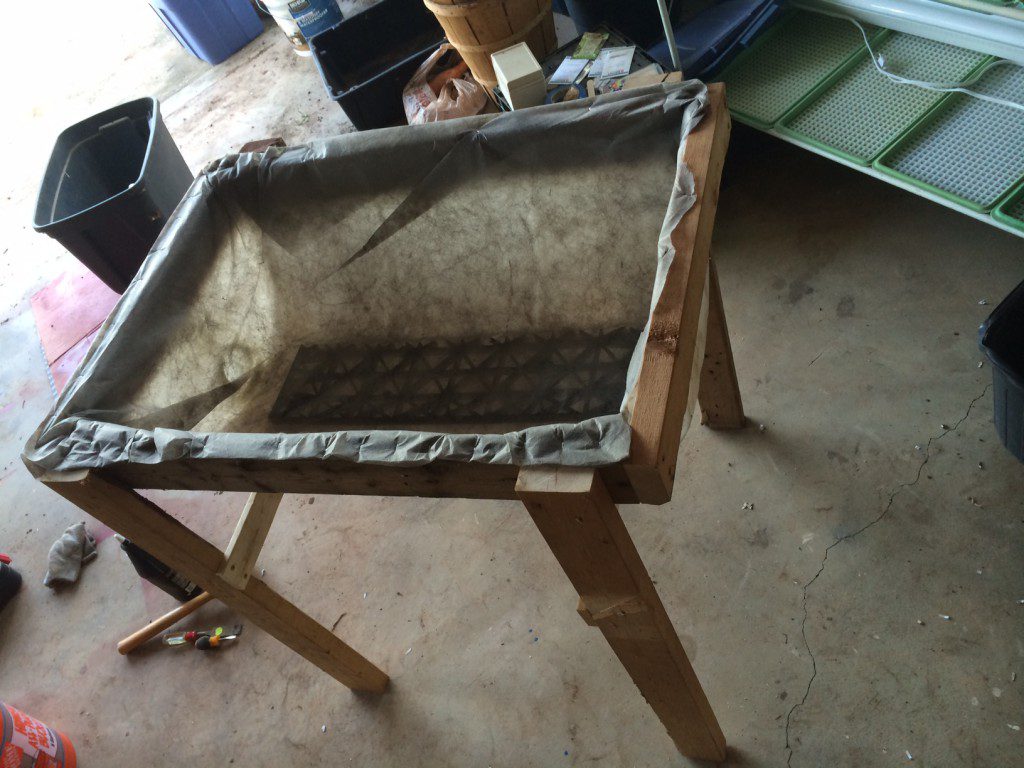
Then last spring a Master Gardener said she had a worm bin from a school project that was being evicted and the poor worms needed a good home. I offered to take them in and set off to making a good home for them. I took a 50 gallon food grade barrel and cut it in half lengthwise, and made a sturdy frame from scrap wood that I had around the house.
I started with about two handfuls of neglected worms and in over a year I’ve found that it is the ideal form of composting for the homeowner who just feeds some cooking scraps a few times per week. The great thing about worm composting is there is no expensive start up like a tumbler or bin which can vary in price from $60 – 400 and they can be kept in a garage or basement like mine so they are convenient.
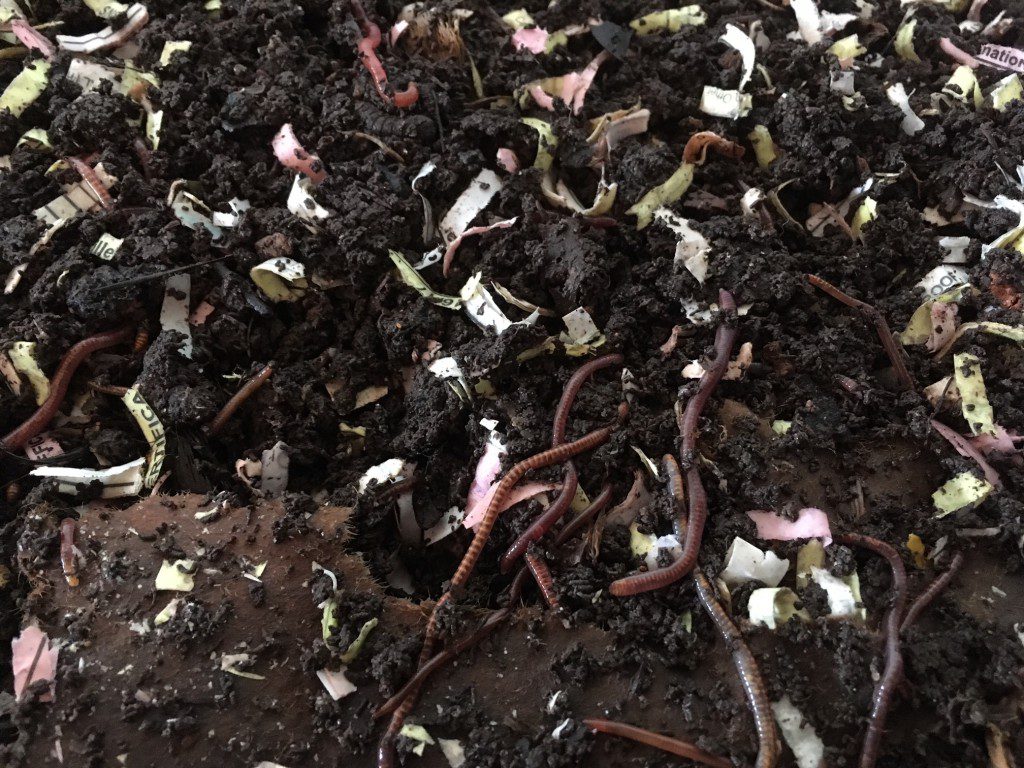
Vermiculture or worm composting systems can come in a lot of different forms but the principles are the same. Red Wigglers (Eisenia fetida) are preferred as they are voracious eaters and are surface or top feeding worms. So the typical bin will allow for a deep layer of bedding which is just dry, carbon based matter like shredded paper, followed by layers of green waste and more bedding between green layers. Here is a good publication on worm bins and general worm composting facts. https://www.clemson.edu/extension/hgic/plants/other/compost_mulch/hgic1607.html
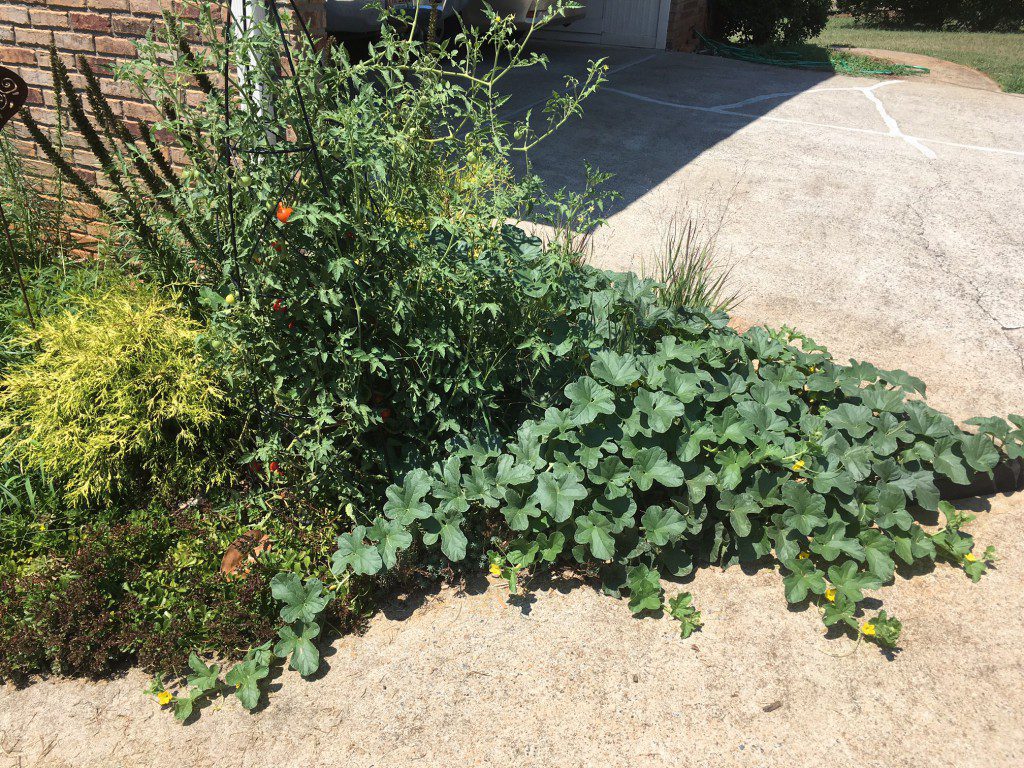
In the little over a year that I’ve had worms, I’ve split my population to start another bin, harvested about 90 gallons of finished castings, and I’ve also been able to share “start-up” worms with a few gardeners. I used the castings around a few choice plants, hanging baskets, and in pots for my divisions and transplants. I am diligent about trying to not put seeds in the things I feed them but inevitably some get through. When I have used the casting I do get volunteers some of which I have kept around because they are such healthy plants.
I was curious about the nutrients contained in the finished castings. I had casually observed healthy plants when I used the castings but I wanted to know how it stacked up against other types of compost. A lot of literature that I’ve seen online has some pretty lofty claims like 10 times the nutrients for worm castings compared to standard compost. Last month I reached out to our soil lab in Athens and told them I’d like to run a comparison of my castings versus store bought mushroom compost. They ran a 18 element analysis along with percent Carbon, Nitrogen, Phosphorous, and Potassium. I will preface these results by saying that this was one batch of castings, so results can vary a bit, but my worms get about the same things; shredded paper, coffee grounds, vegetable scraps, and crushed egg shells. The lab results were astounding. In summary the worm castings contained 12.4 times the Calcium, 7 times the Potassium, 2.5 times the Magnesium, 6.25 times the Phosphorous, and 3.6 times the Nitrogen compared to the store bought mushroom compost.
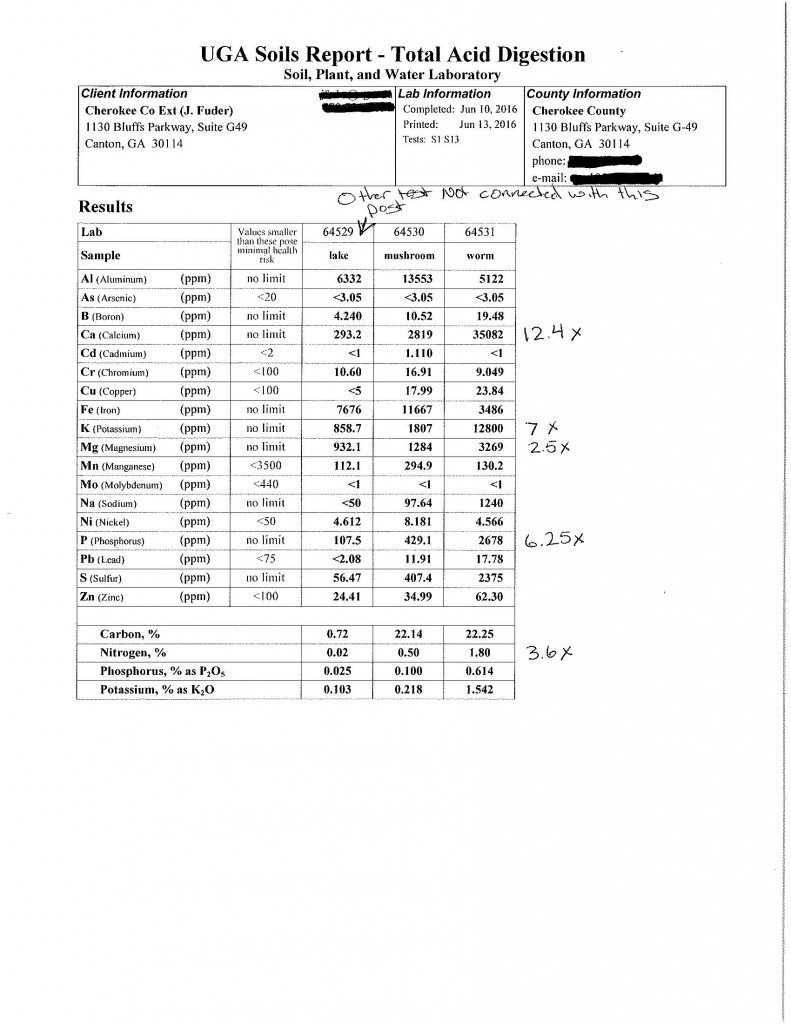
- On a side note I was a bit surprised to see the % Phosphorous and % Potassium result for the mushroom compost. You will see the advertised % on the bag is .5% for Nitrogen, Phosphorous and Potassium. This test showed that Phosphorous was only .1 or 1/5 the advertised % and Potassium was .218 or less than 1/2 the advertised %.