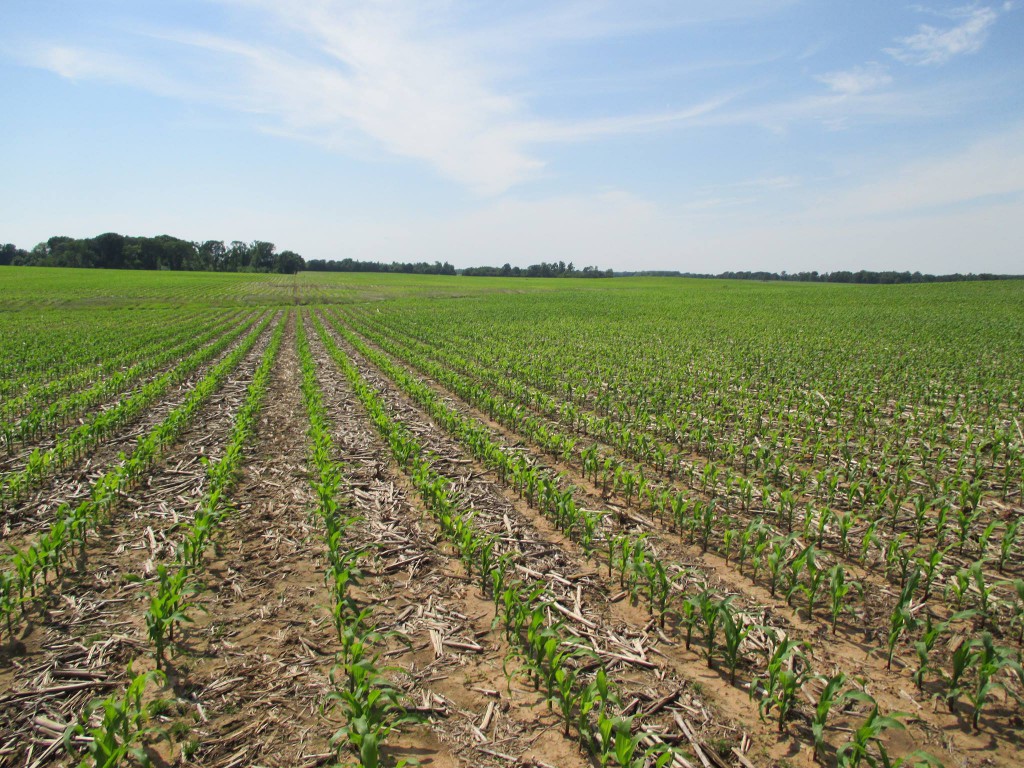
With the 2022 planting season officially underway, we will start seeing more row-crop planters rolling in the fields in next few weeks. For growers to have a successful and stress-free planting season, it is important to make sure that planters are well maintained and ready to go before heading to the field. When it comes to planting, preparation is the key as any breakdowns in the field due to planter malfunction or planting mistakes can cost growers both valuable time and money. We all know that timely and uniform stand establishment is important to maximize yield potential early in the season and one of the main factors that can affect crop stand is planter setup and operation as it influences where and how uniformly seeds are placed in the soil. Spending time on planter setup and preparation to get it field ready goes long way for growers as it not only helps minimize downtime in the field but a successful crop stand also sets the stage for rest of the season.
Before heading to the field, here is a 12-point checklist for growers to consider to make sure that your planter is well maintained and dialed in for peak performance during planting.
- Parallel Linkages – Stand behind the row unit and wiggle it up and down and left and right to check for any play in the parallel arms, and adjust or replace linkages and bushings to make sure row units are secured nice and tight on the planter.
- Drive System – Check all chains, idlers, sprockets and bushings, and replace any parts that are too worn. Make sure all drive chains are snug and do not have any unnecessary jump or vibration when operating. Lubricate all chains and sprockets before begin planting and regularly in the season. Additionally, check all drive system parts including flex drives, hydraulic drives and lines, and electrical drive systems including connectors and wires.
- Tire Pressure – Check and maintain proper air pressure in the tires as recommended by the manufacturer based on the weight of the planter and planting conditions in the field. Independent of drive system, improper tire pressure can have negative effects on seed placement due to improper levelling of the planter toolbar.
- Double Disc Openers – Check that the double disc openers are still sharp and within the diameter tolerance outlined by the manufacturer. Replace if they are dull or worn more than half an inch of their original diameter. Perform a quick check using a business card to ensure adequate contact (1.75 to 2 inches) between the disc openers at the 4 o’clock position.
- Gauge Wheels – Inspect the gauge wheels for any cracks or wear. Adjust the gauge wheels so that they run tight against the disc openers but just enough so they can easily be turned by hand with slight pressure. Gauge wheels should also move freely up and down without sticking in any position.
- Row Cleaners – Check row-cleaners for any wear and replace any bearings if they are not turning freely. Floating type row cleaners should also travel up and down to effectively clear soil/crop residue out of the way.
- Seed Meters – Inspect each seed meter thoroughly for any wear or damaged parts including vacuum seals, brushes, scrapers, and doubles eliminator. Ensure that the correct crop kit (for newer meters) is installed in the meter. If not utilizing a seed monitor (capable of by-row feedback) during planting, it is also recommended to run the seed meters on a test stand to check performance and make any necessary adjustments.
- Seed Tube – Check seed tubes for any cracks and wear at the bottom. Seed tubes should also be cleaned properly to clear any debris or obstructions (seed, cobweb, etc.). Make sure that the seed sensor is secured properly to the tube and working as intended.
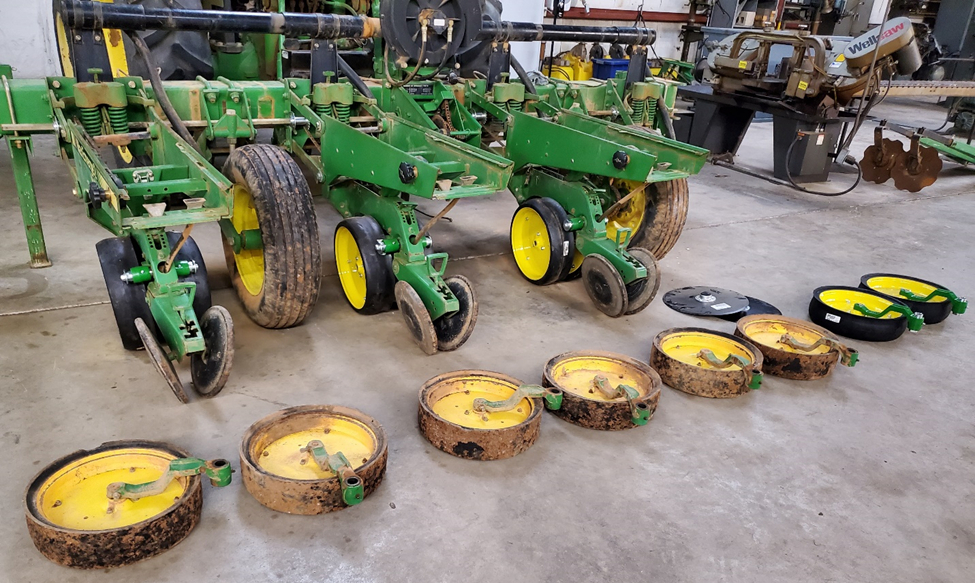
- Closing Wheels – Check that closing wheels are centered directly over the center of the row. Inspect closing wheels for any wear or play in the arms and replace parts or adjust as needed.
- Vacuum – Inspect the whole vacuum system including hydraulic motor, fan and hoses for any wear, leaks or loose fittings. Check that vacuum hoses are attached properly to the manifold and to the seed meters on each row unit.
- Downforce – For mechanical (spring type) systems, check all the components thoroughly and make sure different downforce adjustments can be made easily. For pneumatic or hydraulic systems, inspect all air or hydraulic connections carefully and perform a static diagnostic test to verify that the downforce system is functioning properly. This includes the compressor for air systems, in some cases it stays in the cab and can be neglected.
- Technology – Check that the GPS receiver and planter display have the most recent firmware upgrades installed and are functioning properly. Check if the GPS correction subscription services and any other display unlocks for advanced planting features are activated and paid for rest of the season. Perform a thorough inspection of all technology components including sensors, harnesses, ECU’s and connections to ensure everything is connected and functioning properly. Also, make sure to back up planting data from the previous season on a computer or an external storage device before start recording this year’s data.
Keep in mind that once in the field, growers should get out of the tractor and check seed depth, placement and seed-to-soil contact during the first pass, and adjust planter settings as needed to optimize planter performance within each field. Also, check all these parameters anytime field conditions change drastically, and especially when changing crops.